
A compliance ready SOP that takes lab balances from as found to as left and yields a documented uncertainty budget you can use as audit evidence.

A correct balance calibration procedure restores measurement traceability and gives you a quantified measurement uncertainty for every reading the instrument produces afterwards, benchmarked against ISO/IEC 17025 and national traceability chains. Get it wrong and you’re recording numbers with no defensible basis. PCS Precision, as a NATA-accredited provider, runs this exact sequence on-site or in-lab, so treat what follows as the working SOP behind that service.
TL;DR:
- Proper calibration requires a controlled environment, including stable temperature, humidity, and minimal vibrations, to ensure measurement accuracy.
- Conducting an accurate calibration involves confirming the balance is level, inspecting for damage, zeroing, and recording its initial condition before applying test loads across the range.
- Repeatability, linearity, and eccentricity tests are essential to identify faults not visible through basic checks, with specific tolerances guiding acceptance or quarantine decisions.
- Measurement uncertainty should include contributions from repeatability, eccentricity, environmental effects, display resolution, and the reference weights’ traceability, forming a comprehensive uncertainty budget.
- Scheduled calibrations are risk-based, typically annually, but immediate re-calibration is necessary after any movement, service, or anomalous readings, especially in high-precision environments.
A calibration is only as good as the environment it’s performed in. Set up on a stable bench away from draughts, direct sunlight, and vibration sources such as centrifuges or foot traffic, and let temperature and humidity settle before you touch the balance.
Warm-up matters more than most technicians assume. Electronic balances typically need a powered-on warm-up period sufficient to reach thermal stability before the internal components reach thermal stability, and skipping this step is one of the most common reasons an as-found check drifts on repeat.
Before running any test loads, gather:
Decide upfront whether you need external calibration with traceable certified weights, or an internal routine check using the balance’s built-in mass. External weights carry full traceability; internal checks are faster but won’t satisfy every regulatory audit trail.
Pro Tip: Store reference weights in their original cases, acclimatised to room temperature for at least two hours before use. A weight pulled straight from a cold storage cabinet will read light until it equalises, and that error looks exactly like a fault in the balance.
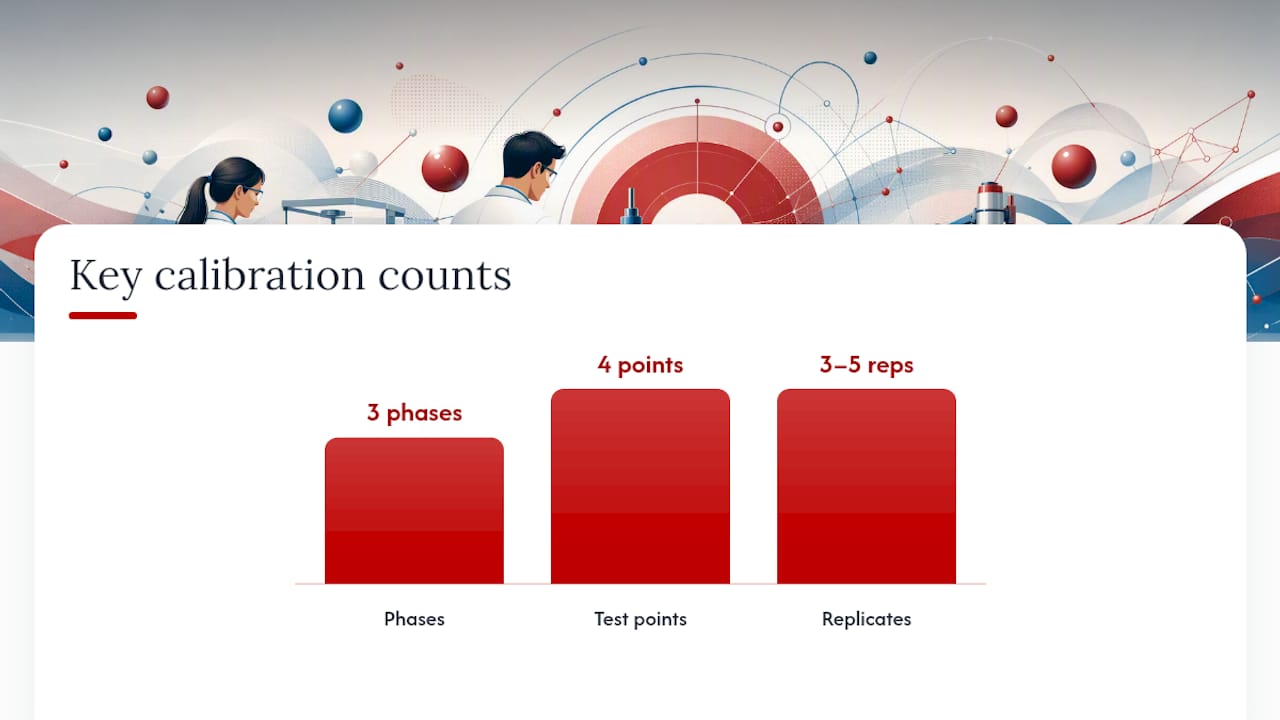
The procedure runs in three phases: capture the balance’s condition before you touch anything, apply the test sequence, then verify and record the final state. Skipping the as-found step is the single biggest gap auditors flag, because it’s the only evidence that the balance was actually out of tolerance before you adjusted it.
Phase 1: As-found checks
Phase 2: Test sequence
Phase 3: Adjustment and as-left verification
Because local gravity and vibration affect a balance’s true reading, calibration is normally performed in the location where the instrument is actually used. Moving the balance afterwards, even to an adjacent bench, can invalidate the result.
Passing the basic test sequence doesn’t tell you everything. Three specific checks catch faults that a simple as-found/as-left comparison will miss entirely.
Compare every result against the tightest applicable tolerance, whether that’s the manufacturer’s specification, your internal process limit, or a regulatory requirement such as a pharmacopoeial monograph. A balance with an uncertainty of 0.01 g on a 100 g reading is only fit for purpose if that band is genuinely smaller than what your process can tolerate. If any test fails, quarantine the balance, tag it “do not use,” and escalate for adjustment or service before it touches another sample.
An uncertainty figure without its contributors is just a guess dressed up in decimals. Build the budget from the individual sources that actually move your result, then combine them statistically to get an expanded uncertainty at roughly 95% confidence.
Typical contributors worth listing separately:
A compliant calibration certificate should list the balance’s ID and location, the ambient conditions during the test, the traceability chain of the reference weights used, the as-found and as-left results, and the combined uncertainty figure. Running a check standard between full calibrations and plotting the results on a control chart is the cheapest way to catch drift before it becomes a failed audit finding.
Scheduling should follow risk, not habit. A full calibration is typical annually, but high-usage or high-risk balances may need it more often, while low-risk instruments can sometimes stretch further with strong interim checks.
Re-calibrate immediately, regardless of schedule, after any of these:
A quick daily spot check against a single reference weight, logged in a book with defined control limits, catches most drift long before it becomes a compliance problem.
Handle reference weights with forceps or gloves only, never bare fingers, and keep them in sealed cases between uses to protect calibrated mass. On high-resolution analytical balances, run the internal adjustment routine before calibration, not just before daily use, to strip out drift before it contaminates your test results. PCS Precision supports uncertainty budgets and issues digital calibration certificates that stay traceable across audits.
Most how-to guides treat calibration as a pass/fail event: apply a weight, check the number, move on. That framing misses the point entirely. Calibration and adjustment are two separate actions, and conflating them is where a lot of laboratory records fall apart under audit. You calibrate first to establish what the balance is actually doing, and you adjust only when the as-found data says you need to, documenting both steps as distinct events.
The eccentricity test gets skipped constantly, and it shouldn’t. A balance can pass a clean repeatability check at the centre of the pan and still be quietly out of tolerance in the corners, which matters enormously in any lab weighing off-centre vessels or irregular sample shapes.
If there’s one habit worth prioritising above the rest, it’s the environmental log. Ambient drift between your first and last reading explains more marginal failures than mechanical fault ever does, and without a timestamped record you have no way to tell the two apart. Chase the paperwork as hard as you chase the numbers. A calibration certificate without a defensible uncertainty budget behind it isn’t really a certificate, it’s a number someone hopes is right.
— Nima
PCS Precision is the practical alternative to running calibrations in-house without traceable reference standards or a documented uncertainty budget behind them. As a NATA-accredited provider, our technicians run the full as-found to as-left sequence on-site or in our lab, covering repeatability, linearity and eccentricity checks, and back every job with a digital calibration certificate you can hand straight to an auditor. We service balances and scales across manufacturing, laboratory, food, pharmaceutical and aerospace settings, with 24/7 emergency support when a failed check takes an instrument out of service mid-shift. If you’re weighing to a tight tolerance, browse precision balances like the Ohaus Ranger 3000 or A&D EJ Series, or get in touch with PCS Precision to book your next calibration and request a quote.
Warm up the balance for 20 to 30 minutes, level it, record an as-found check with a mid-range weight, then run test loads across the full range from no-load to maximum, taking replicate readings at each point before adjusting and re-verifying as “as-left.”
There’s no single universal standard defining “5 points,” but a common working set covers no-load, low, mid, high and return-to-no-load test loads across the balance’s range, supplemented by eccentricity checks at the pan’s four quadrants and centre.
Scheduling is risk-based: a full calibration is typical annually, with functional checks before each use, and immediate re-calibration after a move, drop, battery change, service, or anomalous reading.
The accepted procedure applies test loads under controlled conditions, determines the indication error at each point, and evaluates measurement uncertainty, following guidance such as NIST’s calibration methodology and single-substitution sequences for mass comparison.
External calibration with certified traceable weights is required when regulatory traceability and the highest accuracy are demanded; internal routines are faster but may not satisfy an audit trail on their own, so accredited providers like PCS Precision typically combine both.
